1. Swagger 란?
- Open Api Specification(OAS)를 위한 프레임워크이다.
- API들이 가지고 있는 스펙(spec)을 명세, 관리할 수 있는 프로젝트/문서
- API 사용 방법을 사용자에게 알려주는 문서
- Springboot에서 Swagger를 사용하면, 컨트롤러에 명시된 어노테이션을 해석하여 API문서를 자동으로 만들어준다.
- 참고로 Swagger는 Java에 종속된 라이브러리가 아니다.
- URL에 /swagger-ui.html으로 접근하면 swagger가 만들어주는 페이지에 접근할 수 있다.
EX) http://localhost:9440/swagger-ui.html - https://swagger.io/
2. Swagger의 기능
1) API Design (API 설계): Swagger-editor를 통해 api를 문서화하고 빠르게 명세 가능
2) API Development : Swagger-codepen을 통해 작성된 문서를 통해 SDK를 생성하여
빌드 프로세스를 간소화할 수 있도록 도와준다.
3) API Documentation : Swagger-UI를 통해 작성된 API를 시각화시켜준다.
4) API Testing : Swagger-Inspector를 통해 API를 시각화하고 빠른 테스팅을 진행할 수 있다.
5) Standardize : Swagger-hub를 통해 개인, 팀원들이 API 정보를 공유하는 Hub
3. Swagger 설정
1. Swagger dependency 설정
(위치: build.gradle )
   //swagger
   implementation 'io.springfox:springfox-swagger2:2.9.2'
   implementation 'io.springfox:springfox-swagger-ui:2.9.2'
   implementation 'io.swagger:swagger-annotations:1.5.21'
   implementation 'io.swagger:swagger-models:1.5.21'
2. SwaggerConfig.java 생성
(위치: src/main/java/com/yoon/api/config/SwaggerConfig.java)
1) @Configuration : 클래스가 Bean 설정 클래스임을 의미함
2) @EnableSwagger2 : Swagger2 버전을 활성화 하겠다는 의미
3) @Profile(“dev”) : 전 게시글 application.yml 에서 profile 설정
package com.yoon.api.config;

import org.springframework.context.annotation.Bean;
import org.springframework.context.annotation.Configuration;
import org.springframework.context.annotation.Profile;

import springfox.documentation.builders.ApiInfoBuilder;
import springfox.documentation.builders.PathSelectors;
import springfox.documentation.builders.RequestHandlerSelectors;
import springfox.documentation.service.ApiInfo;
import springfox.documentation.spi.DocumentationType;
import springfox.documentation.spring.web.plugins.Docket;
import springfox.documentation.swagger2.annotations.EnableSwagger2;

@Configuration
@EnableSwagger2	//Swagger2 버전을 활성화 하겠다는 어노테이션
@Profile("dev")  // 백도어방지
public class SwaggerConfig {

	@Bean
	public Docket api() {
		return new Docket(DocumentationType.SWAGGER_2).apiInfo(apiInfo()).select()
				.apis(RequestHandlerSelectors.basePackage("com.yoon.api")).paths(PathSelectors.any()).build();
	}

	private ApiInfo apiInfo() {
		return new ApiInfoBuilder().title("REST API Study").description("This documents describes about REST API")
				.version("1.0.0").build();
	}
}
6. Swagger UI 확인
1) http://localhost:9440/swagger-ui.html 링크로 접속해보자
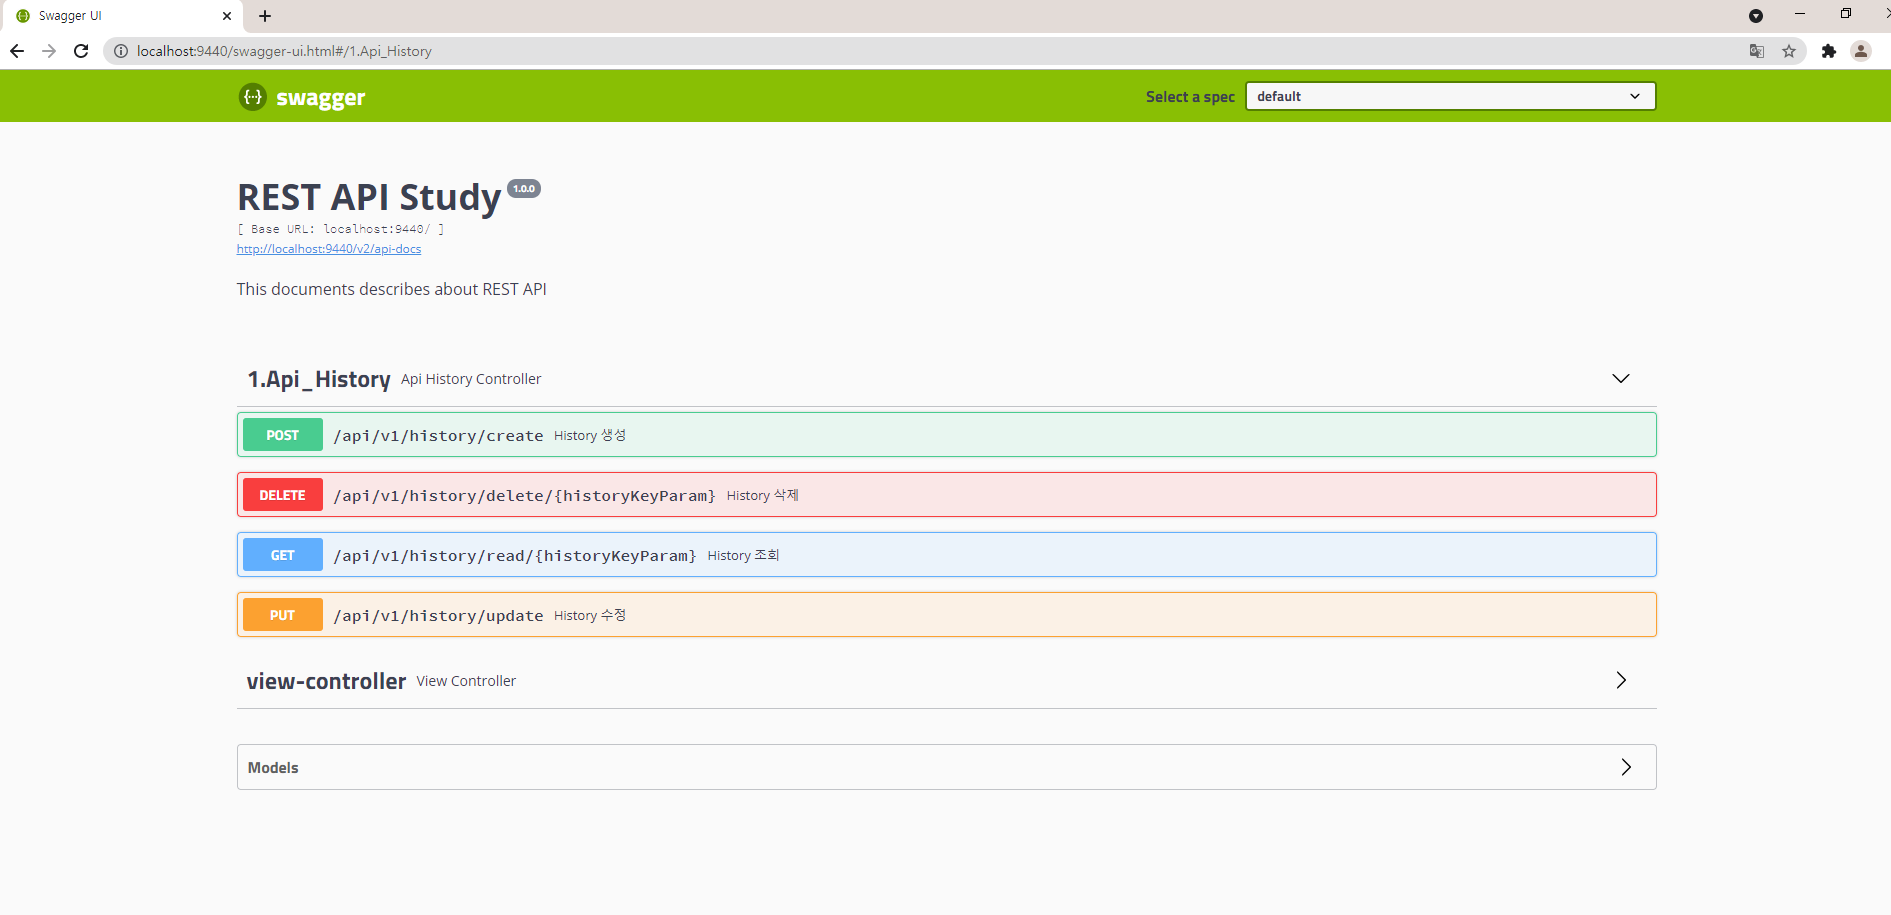
swagger-ui.html 이 잘 뜨면 성공!
이어서 REST API 를 완성해보쟈~~ 😀